Showing posts with label Chocolate. Show all posts

Saturday, October 22, 2011

Mint Chocolate Chip Cake

  A friend from way back, who has been creating some delicious looking baked goods agreed to be my guest blogger this week.  I appreciate Jason for posting on my humble blog!  Enjoy friends. ;-)


Ever since I was a kid, I loved chocolate mint ice cream.  I was lucky enough to find a job as a teenager at a local ice cream parlor by the name of Leatherby's here in Sacramento.  If they would have paid me in ice cream, that would have been fair in my book.  Fast forward a few, (ok, many) years and I'm still a huge fan of their ice cream.  I happened to stumble across a recipe at Raspberri Cupcakes for chocolate mint cake the other day, and my curiosity was at full alert.  Let me just say, this cake is AMAZING, especially if you're as big a fan of chocolate mint ice cream as I am.  One of my kids remarked at how similar the taste of the frosting is to real ice cream--yes, it's that close.  Give this one a try, it will be worth it!


You have two options here, as you can make a homemade cake or one from a box.  I've done the cake both ways, and I will say it's a matter of personal preference.  David Lebovitz's Devil's Food Cake is extremely rich and compliments the robust flavors of the frosting quite well.  If you're short on time, go with a box mix and enjoy the cake that much quicker!

Here's the recipe for David's Devil's Food Cake:

Cake
9 tbsp unsweetened cocoa powder
1 1/2 cups cake flour (not self-raising, I just used plain flour and replaced 3 tbsp with cornflour/cornstarch)
1 1/2 tsp salt
1 tsp bicarb soda
1/4 tsp baking powder
1 stick unsalted butter, at room temperature
1 1/2 cups caster sugar
2 large eggs, at room temperature
1/2 cup strong coffee (or water, I used a weak coffee as I didn't want it overpower the mint)
1/2 cup whole or low-fat milk

Butter and line the base of a two 9-inch cake tins (I only had a 22cm springform tin which I used for both cakes) and preheat oven to 180°C (350°F). 
Sift together the cocoa powder, flour, salt, bicarb soda, and baking powder in a bowl. Using an electric mixer with a large mixing bowl, beat together the butter and sugar about 5 minutes until smooth and creamy. Add the eggs one at a time and beat until fully incorporated.

Mix together the coffee and milk. Stir half of the dry ingredients into the butter mixture, the add the coffee and milk. Finally stir in the other half of the dry ingredients until smooth. Split batter mixture between the two prepared tins (or in my case, I used half for the first cake, baked it and then reused the tin for the other half of the batter). Bake for about 25 minutes, or until a skewer inserted into the center of the cake comes out clean. Remove from the oven and cool in tin about 5 mins, then place on a wire rack and cool completely before icing.

For the Frosting
2.5 sticks unsalted (or slightly salted) butter
4 cups powdered sugar, sifted
2-3 tsp peppermint essence or use mint extract (add 1/4 tsp at a time until you're happy with flavor)
150g dark chocolate, very finely chopped or pulsed through a food processor
Green food coloring
Optional: waffle ice cream cones to decorate


Remove the butter from fridge about half an hour before starting. Cut up butter into smaller pieces and place in a large mixing bowl. Beat with an electric mixer on high until fluffy and smooth. Add sifted powdered sugar one cup at a time, beating until combined. Add peppermint essence or mint extract to taste and green food coloring. Gradually add chocolate chip pieces until you have a good distribution of chocolate bits.


Use about 1/4 of the icing on top of one of the cakes and smooth over with a spatula. Place second cake top side down on top of the iced cake. Cover entire cake with more icing, smoothing with a spatula. I used an offset spatula, running it under hot water every now and then to help keep the surface smoother. Use the leftover icing to form scoops of icing to place on top of the cake, arranged however you like. Use mini ice cream cones or chop the ends of normal-sized cones and place on top of icing scoops. Alternatively you could cover the top with extra dark chocolate chips or shaved chocolate. Can be served immediately or stored in an airtight container overnight. Serve at room temperature.

Jason


Thursday, October 20, 2011

Chocolate Covered Brownie Bites

I love brownies.  More than cake.  More than cookies. I would give up all things sweet just to have a brownie.  And I love chocolate too.  So when I came across this recipe at Sweetapolita for chocolate covered brownies!!.. I hurried into my kitchen to give them a try.   They were worth it.  Really worth it.

Delicious little bite size brownies. Did I mention they are covered in chocolate?

These babies are rich so 1" bite size pieces are the perfect size.

Just waiting to be enjoyed.  I obliged. 

Yield approx. 35-40 1" bites

For the brownies
3/4 cup of sugar
1/3 cup of butter, cubed
2 tablespoons of water
2 cups of semisweet chocolate chips 
1 teaspoon of vanilla
2 eggs
3/4 cup of flour
1/2 teaspoon of salt
1/4 teaspoon of baking soda

For the chocolate covering
2 cups of chocolate chips
2 tablespoons of shortening
Sprinkles

Preheat oven to 325.  Line a 9" square pan with parchment paper.

In a large saucepan, bring the sugar, butter and water to a boil over medium heat.
Remove from heat and stir in 1 cup of chocolate chips and vanilla until smooth.  Cool for 5 minutes.
Add eggs, one at a time, stirring well after each addition. (I used a whisk)
In a separate bowl, combine the flour, salt and baking soda.
Stir into the chocolate mixture.
Add 1 cup of chocolate chips.
Pour into prepared pan.
Bake for 30 - 35 minutes depending on desired texture of brownies.  I like mine on the gooey side so I only left mine in for 30 minutes.
Cool completely on a wire rack.
Place in freezer for about 30 minutes just until firm enough to cut into bite size pieces.

Once the brownies are cooled, remove from pan holding onto the parchment paper.  Cut into 1" squares. (give or take) I used a pizza cutter.  It makes it so much easier..trust me!

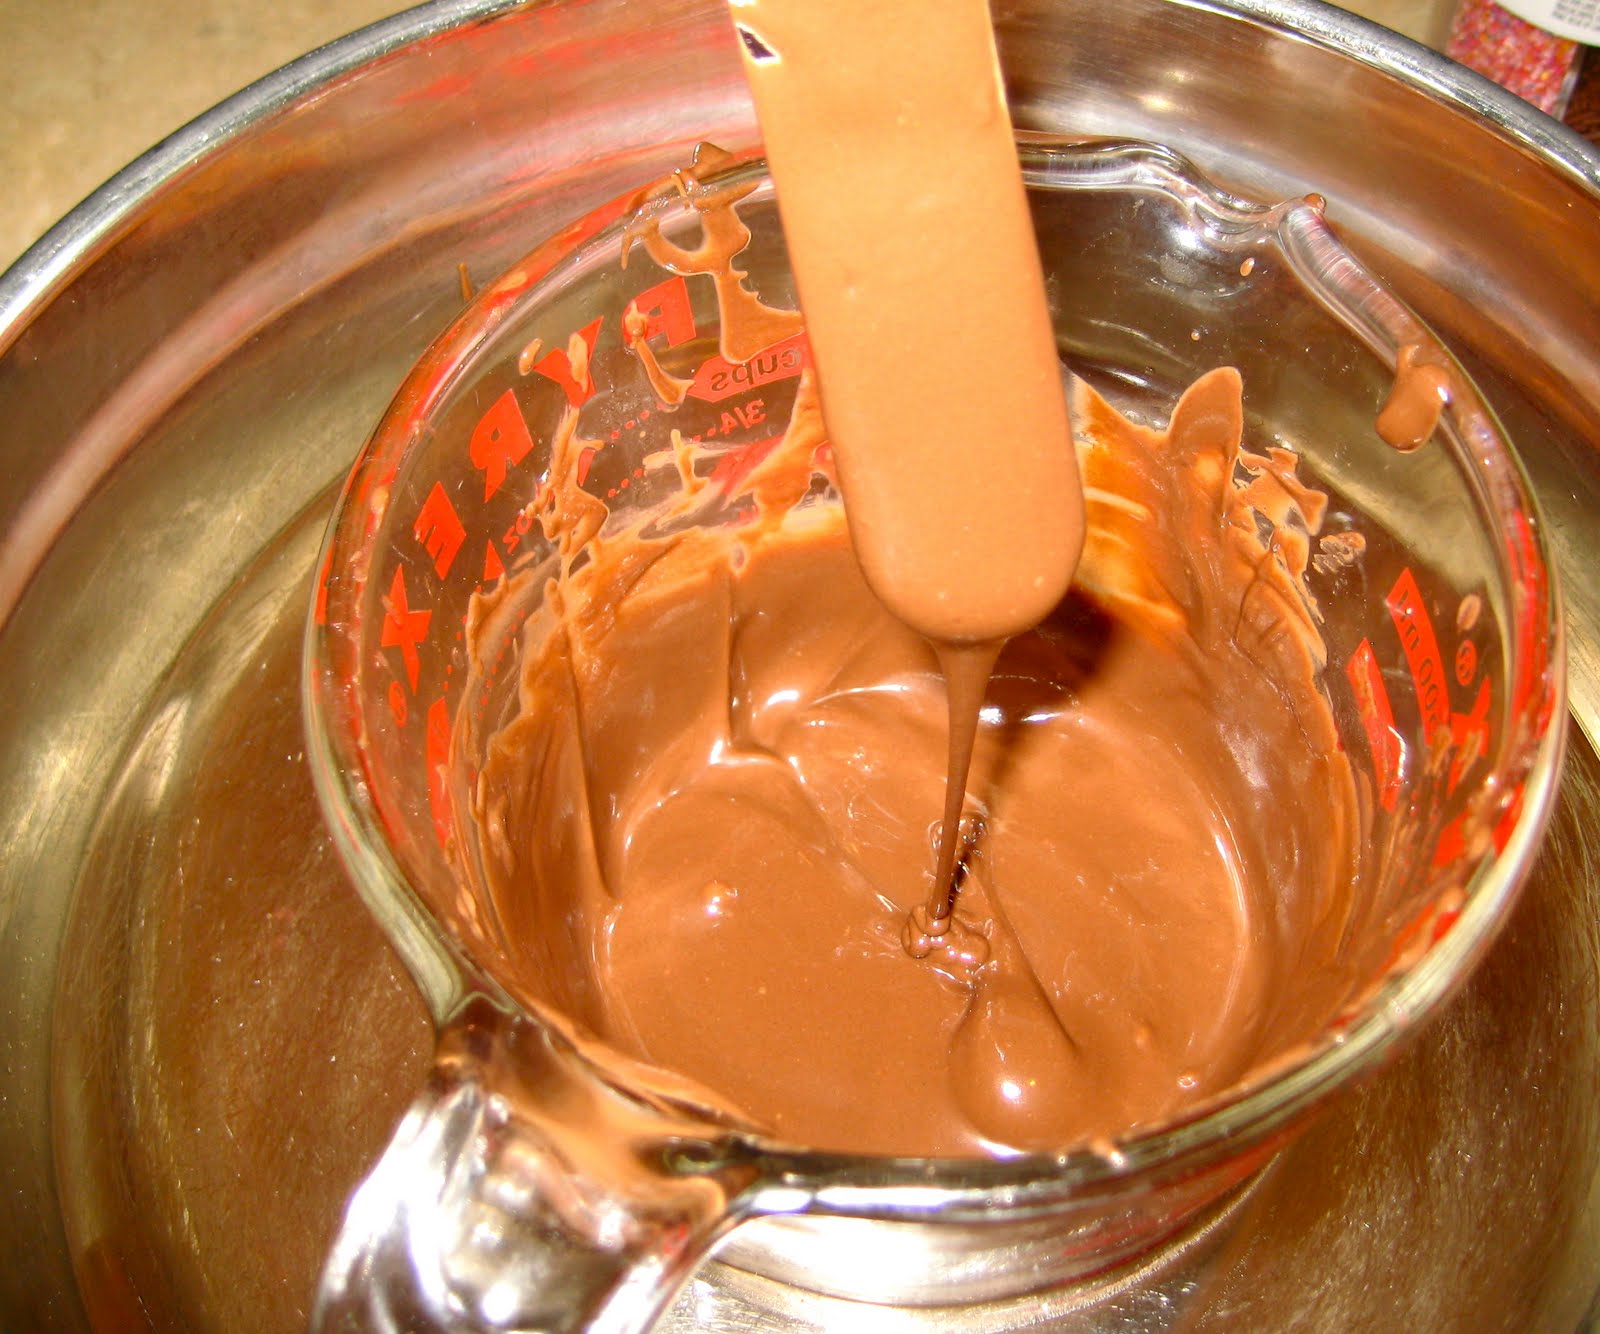
In a microwave safe bowl, melt the chocolate chips and shortening.  I heated for 30-45 seconds then stirred and heated again until the chocolate was smooth.

Dip each brownie bite into the chocolate then place on parchment and cover in sprinkles.

Store in an airtight container in the fridge.

Enjoy!


Wednesday, September 14, 2011

3 layer German Chocolate Cake w/ Rum sauce

It was my dad's 60th birthday party last weekend and he requested a german chocolate cake.  Once again, I attempted to make something for a special occasion that I had never made before. I know..I'm a sucker for the unexpected..good or bad!  I was pleased with the outcome. yay me!  There is a rum sauce on each cake layer that created a very moist cake, and the ganache frosting mellowed the sweetness of the filing. A great balance all around.  This is one I will definitely be making again. 

I made some chocolate decorations for the top.  Just melt semisweet chocolate and place in a squeeze bottle or ziplock baggie.  Draw your designs, numbers, monograms etc on some wax paper and place in the freezer for 5-10 minutes until hardened.

I made a '60th' to stick on the top but my 5 year old daughter ate it before I could get a picture. ha!

Makes me want another piece.....


For the cake
I used my Chocolate espresso Cupcake mix for the cake

For the filling
2 cups of heavy cream
2 cups of sugar
6 large egg yokes
6oz unsalted butter cut into small pieces
1 teaspoon of salt
2 cups of  pecans toasted and finely chopped
2 2/3 cups of toasted coconut (sweet or unsweetened)

For the syrup
1 cup of water
3/4 cup of sugar
2 tablespoons of dark rum or rum extract

For the chocolate frosting
8oz of bittersweet or semisweet chocolate chopped. (I used both)
2 tablespoons of light corn syrup
1 1/2oz of unsalted butter
1 cup of heavy cream

Preheat oven to 350 Butter 3 8-inch pans and line with parchment paper.

CAKE
In the bowl of a stand mixer fitted with the paddle attachment, stir together the sugar, flour, cocoa, espresso, baking powder, baking soda and salt.  
Add eggs, milk, oil and vanilla.  Beat on medium speed for about 2 minutes.  
Stir in boiling water.  Batter will be thin.
Pour into prepared pans.
Bake 22-28 minutes.  (every oven cooks so differently so keep a close eye the first time you make this one) Cake is ready when a toothpick inserted in the middle comes out clean.
Cool 10 minutes then remove from pan and transfer to wire rack to cool completely. 

While the cake is cooling make the filling, syrup and frosting

FILLING                                                                                                             Mix the cream, sugar, and egg yolks in a medium saucepan. Put the 6 ounces of butter, salt, toasted coconut, and pecan pieces in a large bowl.       Heat the cream mixture on medium high and cook, stirring constantly (scraping the bottom as you stir) until the mixture begins to thicken.  Bring the heat down to medium heat halfway through process (about 15 minutes total) Filling will thicken once cooled.                                                                                                Pour the hot custard immediately into the pecan-coconut mixture and stir until the butter is melted. Cool completely to room temperature.                                                                                                                              
SYRUP                                                                                                                   In a small saucepan, heat the sugar and water until the sugar has melted. Remove from heat and stir in the dark rum. This is more syrup than you will need so you can save it or reduce the recipe.
FROSTING                                                                                                            Place the 8 ounces of chopped chocolate in a bowl with the corn syrup and 1 ½ ounces of butter.    Heat the cream until it just begins to boil. Remove from heat and pour over the chocolate. Let stand one minute, then stir until smooth.  Cool completely.   To speed up this process you can place in the fridge and stir every 10-15 minutes until desired consistency is reached.  Don't go too long without stirring or it will harden and not be spreadable. 
ASSEMBLE                                                                                                        Remove parchment paper from first layer of cake and place on a cake stand.  Using a pastry brush, spread the rum syrup over the entire cake.  Use 1/3 of the filling on the cake layer and spread to the edges.  Repeat process with the next two layers.  Using an offset spatula, frost the sides of the cake until covered.  Use any remaining frosting to pipe on cake top.    I refrigerated this cake overnight and let it set out appromimently 15 minutes before I served it.  It is good served cooled or at room temperature.  It is easier to slice when it has been chilled.
The filling, syrup and frosting came from David lebovitz


Tuesday, June 14, 2011

Chocolate espresso cupcakes w/ peanut butter filling & chocolate ganache topping

I love peanut butter and chocolate together.  There is something about the creaminess of a peanut butter filling paired with the moist chocolate cake that makes me happy.  Now add a chocolate ganache to that and you have a winner in my book!  I made some of these with the peanut butter filling on on the inside and some with it on top.  You really can't lose either way!


The cake

2 cups of sugar
1 3/4 cups of all-purpose flour
3/4 cup of cocoa
1 tablespoon of espresso powder
1 1/2 teaspoons of baking powder
1 1/2 teaspoons of baking soda
1 teaspoon of salt
2 eggs
1 cup of milk
1/2 cup vegetable oil
2 teaspoons of vanilla extract 
1 cup of boiling water

Preheat oven to 350 degrees.  Line cupcake pan with cupcake liners.


In the bowl of a stand mixer fitted with the paddle attachment, stir together the sugar, flour, cocoa, espresso powder, baking powder, baking soda and salt.  
Add eggs, milk, oil and vanilla.  Beat on medium speed for about 2 minutes.  
Stir in boiling water.  Batter will be thin.
Pour into cupcake liners. Fill about 2/3rds of the way.
Bake 14 to 18 minutes or until a toothpick inserted in the center comes out clean.
Cool 10 minutes then remove cupcakes from pan and transfer to wire rack to cool completely.

For the filling 
1 1/4 cups of peanut butter
1/2 cup of butter, softened
1 1/2 cups of confectioners sugar
3 tablespoons of heavy cream or as much as needed

In the bowl of a stand mixer, beat the peanut butter and butter until completely mixed. It will be creamy.  Gradually add the confectioners sugar while beating on slow speed. After confectioners sugar is incorporated start adding the heavy cream until desired consistency is achieved. 

Ganache Topping
2 cups of chocolate chips
1/2 cup of shortening
6 tablespoons of corn syrup
4 1/2 tablespoons of water

Combine the chocolate chips, shortening, corn syrup and water in the top of a double broiler. Heat, stirring frequently until melted and smooth.  Remove from heat and let cool and thicken slightly before topping cupcakes.


Assemble 
With a paring knife, cut out the center of the cupcakes and set the removed piece aside.  Put the peanut butter filling in a piping bag or a ziplock with the corner snipped off.  Pipe the filling into the cupcake until just about full and replace the removed piece of cake.  Dip the filled cupcake in the ganache. If it is too difficult to dip, use a wooden spoon to scoop the ganache on top of the cupcake and spread until covered and smooth.


Top with sprinkles if desired.

Alternate way.
Pipe peanut butter filling on top of cupcake and spoon ganache on top of peanut butter.

Makes approximately  24-30 cupcakes

Sunday, June 5, 2011

Moist Chocolate Cake with Pumpkin Spice Cream Cheese Frosting

Ok, I am fully aware that it has been over a month since I have posted a darn thing on here...but wait!...I do have a valid excuse!   Our family just got back from DisneyLand in California and have been sick ever since.  A great vacation, but so glad to be back on my island!
I made this cake before we left, but ran out of time to post it
.........so here we go.    
I love chocolate anything, and I have found the chocolate cake base that I use for all the chocolate cakes that I make.  It is the same chocolate cake base as my Ding Dong Cake
 My husband loves pumpkin so I made a cream cheese frosting and added pumpkin spice to kick it up a notch.  You could also add a little pumpkin puree to the frosting if you have that on hand.


For the cake
2 cups of sugar
1 3/4 cups of all-purpose flour
3/4 cup of cocoa
1 1/2 teaspoons of baking powder
1 1/2 teaspoons of baking soda
1 teaspoon of salt
2 eggs
1 cup of milk
1/2 cup vegetable oil
2 teaspoons of vanilla extract 
1 cup of boiling water


Preheat oven to 350 degrees.  Grease and flour three 8-inch round cake pans, or grease and cut parchment paper to fit bottom of pans for easy removal.

In the bowl of a stand mixer fitted with the paddle attachment, stir together the sugar, flour, cocoa, baking powder, baking soda and salt.  
Add eggs, milk, oil and vanilla.  Beat on medium speed for about 2 minutes.  
Stir in boiling water.  Batter will be thin.
Pour into prepared pans.
Bake 22-28 minutes.  (every oven cooks so differently so keep a close eye the first time you make this one) Cake is ready when a toothpick inserted in the middle comes out clean.
Cool 10 minutes then remove from pan and transfer to wire rack to cool completely. 

For the frosting
16 oz of cream cheese softened
1/2 cup of butter
2 teaspoons of vanilla extract
2 cups of confectioners sugar
1-2 teaspoons of pumpkin spice. Or to taste

In the bowl of a stand mixer beat the ingredients until smooth and fluffy.  Refrigerate until ready to frost cake.

Once the cake has completely cooled, start stacking and frosting until all three layers have been covered.   I topped mine with cookie crumbs.  You could also use chocolate sprinkles or cocoa powder.    Store cake in refrigerator. 


Saturday, April 30, 2011

Ding Dong Cake

First of all let me start by saying I am embarrassed about my picture...lol   I had company over for a dinner party and never got a picture of the entire cake... Oh well,  hopefully you can use your imagination.  ;-)  This is one of my favorites to make and eat.  It brings me back to being a kid eating one of my favorite snacks...the Ding Dong!

For the cake
2 cups of sugar
1 3/4 cups of all-purpose flour
3/4 cup of cocoa
1 1/2 teaspoons of baking powder
1 1/2 teaspoons of baking soda
1 teaspoon of salt
2 eggs
1 cup of milk
1/2 cup vegetable oil
2 teaspoons of vanilla extract
1 cup of boiling water


Preheat oven to 350 degrees.  Grease and flour two 9-inch round cake pans or one 10-inch round cake pan

In the bowl of a stand mixer fitted with the paddle attachment, stir together the sugar, flour, cocoa, baking powder, baking soda and salt.  
Add eggs, milk, oil and vanilla.  Beat on medium speed for about 2 minutes.  
Stir in boiling water.  Batter will be thin.
Pour into prepared pans.
Bake 30-35 minutes for the two 9-inch pans or 45-55 minutes for the 10-inch pan.  Cake is ready when a toothpick inserted in the middle comes out clean.
Cool completely.

Once the cakes have completely cooled, use a spoon to scoop out a thin layer in center of one cake to within 1-inch from the sides.  Discard the removed section or use for another recipe.
For the single 10-inch cake cut a 1-inch layer off the top and follow the above directions to scoop the center out.

Cream Filling
2 teaspoons of very hot water (not boiling)
1/4 teaspoon of salt
1 jar of marshmallow cream
1/2 cup of shortening
1/3 cup of confectioners sugar
1/2 teaspoon of vanilla

Dissolve the salt in the hot water.  Set aside until cooled.
With a mixer fitted with the whisk attachment, whip the cream, shortening, sugar and vanilla until fluffy.
Add the water/salt mixture when it's cooled and whip well.

Cream taken from Sugar Derby

Using a spatula, scoop the cream into the cake center and spread until evenly distributed.
Replace the removed cake top (or second cake if you made two 9-inch)

Ganache Topping 
1 cup of chocolate chips
1/4 cup of shortening
3 tablespoons of corn syrup 
2 1/4 tablespoons of water

Combine all ingredients in the top of a double broiler and stir until melted and smooth. 
Pour over cake and smooth down the sides.  
Refrigerate until chilled.

Store in the refrigerator.


Tuesday, April 19, 2011

Chocolate Chip Cookie Dough Pops!

I love cakepops.  So when I discovered a recipe for cookie dough egg-less truffles I had to try making them into pops.  You can be as creative as you want when it comes to decorating them!  
White almond bark with sprinkles

Cookie dough inside... Genius! 

Rounded cookie dough on wax paper

Chocolate should be a pouring consistency, not too thin.

Dip pops into chocolate until covered.

Decorate away!


Cookie Dough
1/2 cup of butter, softened
1/2 cup of brown sugar, packed
1/4 cup of granulated sugar
1 cup of all purpose flour
1/2 teaspoon of salt
1 tablespoon of vanilla extract
1 cup of chocolate chips
water

Candy
Almond bark (or candy coating)
Sprinkles or other toppings
lollypop sticks 

Beat the butter and sugars until fluffy.  About 3-5 minutes.
Stir in the flour, salt, vanilla and chocolate chips. 
Add enough water, 1 tablespoon at a time until cookie dough consistency is achieved.  You may not need to use water at all.  
Roll dough into balls (I use a small cookie scoop) and place on a cookie sheet lined with wax paper.
Place in refrigerator for about an hour, or until firm and cold.

When dough is chilled, melt almond bark or candy coating in a microwave safe bowl.  
If consistency is too thick, you can add shortening or vegetable oil 1 teaspoon at a time until desired consistency is reached.  I place my bowl of melted chocolate into another bowl of warm water to keep the chocolate soft.  Make sure you don't get water in the chocolate or it will seize up on you.
Only remove a few cookie pops at a time so they remain chilled.
Dip the end of a lollypop stick into the chocolate and then press into the bottom of a cookie dough ball until about halfway through.  
Dip the cookie pop into the chocolate and use a spatula to help cover it completely. Allow the excess to dip off.
Sprinkle your choice of toppings on immediately.  If you allow the chocolate to dry the sprinkles won't stick.  
Place upright in a styrofoam block, container of rice or sugar, or anything else you might have that will hold the pops upright until they dry.
Store in the refrigerator.


Cookie dough adapted from Willow Bird Baking


Tuesday, April 5, 2011

Blondie Brownies

Blondies!!   Woohoo I love blondies!  
I have tried and tested a few recipes and this is the one our family has decided is "the one" for us.  I am an almond flavor lover so these have a hint of almond to give them a little boost of yum!
Just waiting to be devoured!
Chocolate chips and white morsels ready to melt in your mouth....

2 1/4 cups of all-purpose flour
2 1/2 teaspoons of baking powder
1/2 teaspoon of salt
1 1/4 cups of granulated sugar
1 1/4 cups of packed brown sugar
3/4 cup of unsalted butter, softened
1 tablespoon of vanilla extract
1/4 teaspoon of almond extract
3 eggs
1 cup of semi sweet chocolate chips
1 cup of white morsels or peanut butter chips

Preheat oven to 350 degrees F.  Grease a cookie sheet or jelly roll pan.

In a small bowl, combine the flour, baking powder and salt.  Set aside.
In the bowl of a stand mixer fitted with the paddle attachment, cream together the granulated sugar, brown sugar, butter, vanilla extract and almond extract until smooth. 
Beat in the eggs one at a time until combined.
Using a wooden spoon, stir in the flour mixture just until combined. 
Mix in chocolate and white morsel chips.
Spread evenly in prepared pan.  Dough will be thick so you need to use a spatula to spread.

Bake for 25-28 minutes.  If you like a darker, crispy exterior than cook a little longer.  I like a soft center with a light exterior so I so I cook mine for 25 minutes.  
Cool in the pan on a wire rack.  When completely cooled cut into squares and store in an airtight container.  

Tip.  Place a slice of bread in the airtight container with the blondies to keep them soft.  The brownies will draw the moisture from the bread.  Replace the bread when it dries out.


Tuesday, March 29, 2011

Chewy Chocolate Chip Cookies

If you're anything like me you love a soft, chewy chocolate chip cookie.  These are my "go to" cookies! Using butter & eggs right out of the fridge causes the cookies to maintain their thickness during baking.
I used a cookie cutter dipped in flour to make the heart shapes, & melted white morsels for the heart design.
Super soft and chewy on the inside and a little crunch on the outside.

Yields about 4-5 dozen 2 1/2 inch cookies

1 1/3 cups of cold unsalted butter
1 1/2 cups of packed light brown sugar
1 cup of granulated sugar
2 large cold eggs
1 Tablespoon of pure vanilla extract
1/2 teaspoon of almond extract
3 3/4 cups of all purpose flour
1 1/4 teaspoon table salt
1 teaspoon baking soda
2 cups of semisweet chocolate chips

Preheat oven to 375 degrees F.  Spray cookie sheet with non stick spray or line with parchment.

In a stand mixer fitted with the paddle attachment, beat the butter and both sugars, starting at low speed and working your way up to high speed until the mixture is light and fluffy. Scrap the bowl and beater.
Add the eggs, vanilla and almond extract.  Beat on low until blended.  Beat on high until light and fluffy, about a minute.  
In a medium bowl whisk the flour, salt, and baking soda.
Add to the butter/sugar mixture and stir with a wooden spoon just until blended.
Stir in the chocolate chips.  The dough will be stiff. 
Place the bowl of cookie dough in the fridge for 5 minutes to cool it down.
Using a small cookie scoop, drop rounded dough onto cookie sheet about 2 inches apart.
Bake until the edges of the cookies are golden brown.  8-10 minutes. Rotate the sheets halfway through for even cooking.  The cookies will still be soft in the center.  
Let cookies rest on cookie sheet for 5 minutes transfer to a cooling rack.
I place my cookie sheets in the fridge/freezer in between batches to allow them to cool down before cooking the next batch of cookies.  This helps the cookies rise better in the oven.  
Keep your dough in the fridge in-between batches to keep it chilled.


Friday, March 18, 2011

Chocolate Graham Cracker Toffee Bark

OK, so I know there are many different versions of this recipe floating around in cyber space, but I wanted to share my version.  It is one of my family's favorites and so easy to make.  Once you start eating, it is hard to stop!  Have fun!
Lots of toffee chips and pecans
Not too many ingredients 
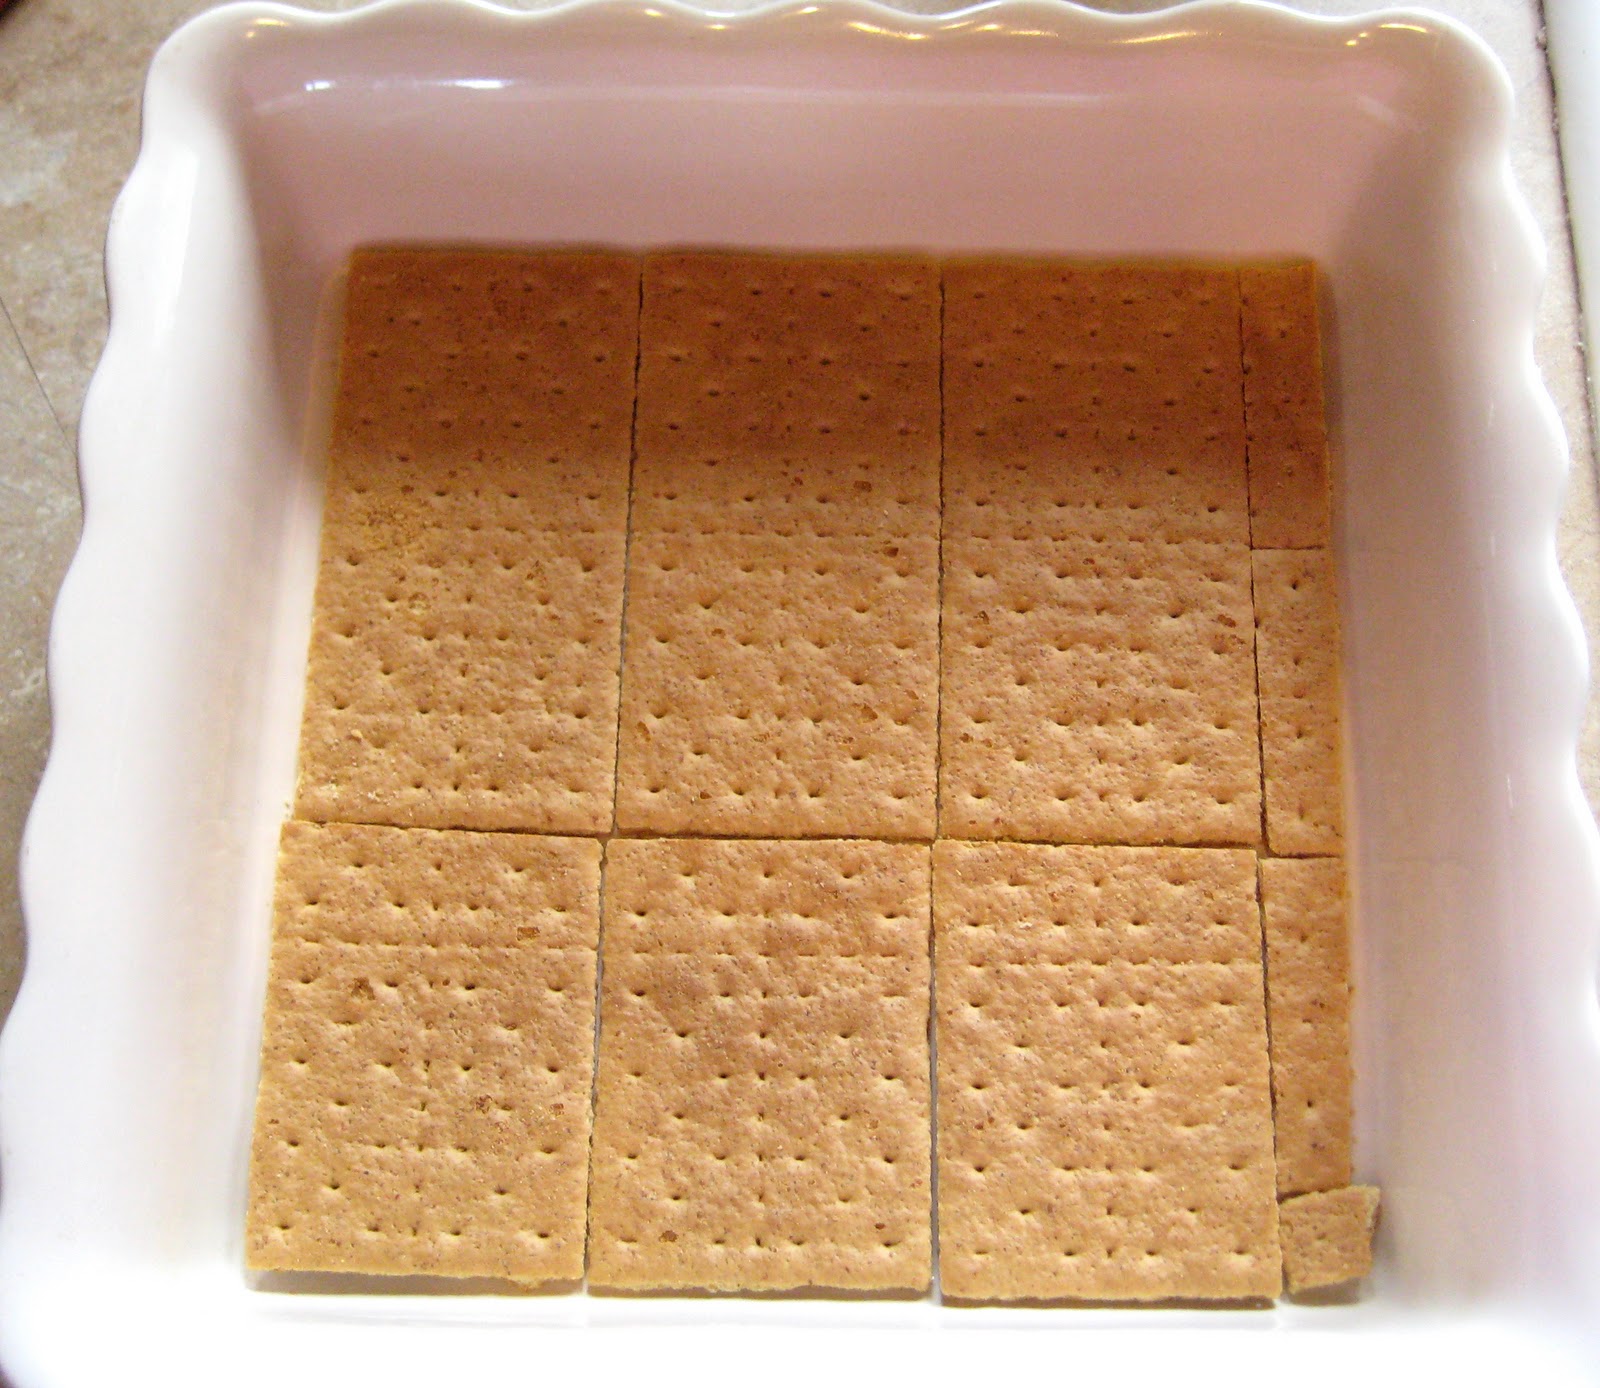
I had to cut my crackers to fit my pan.  Easy!


6 Whole graham crackers (cut to fit pan)
1/2 cup butter
1/2 cup brown sugar
1 cup semi sweet chocolate chips or milk chocolate chips
1/4 cup chopped pecans
1/4 cup toffee bits

Preheat oven to 350
Arrange graham crackers in a single layer in a 9x9 pan. 
Combine butter and brown sugar in a small sauce pan.  Bring to a boil oven medium heat stirring consistently for approximately 2 minutes. Remove from heat. It will be thickened.  
Pour over the graham crackers and bake for 10 minutes.
Remove from oven and sprinkle the chocolate chips on top.  The chocolate will start to melt.  Evenly spread it to cover the entire pan.  Sprinkle toffee and pecans on top.  
Allow the pan to cool to room temperature then place in the fridge until the chocolate firms up.  
Break or cut into pieces and store in an airtight container in the fridge.

Adapted from Stephanie's Kitchen


Saturday, March 12, 2011

Brownie Tart

This recipe came from the "Barefoot Contessa" but I tweaked it a tad to suit my families taste.  I really did try to get a picture of it after I cut a slice out, but it just vanished too quickly!  It is tasty for sure, and has a bit of a crunchy exterior with a soft gooey center.  If you are a chocolate lover than this one's for you!
6 tablespoons (3/4 stick) unsalted butter
3 1/4 cups semisweet chocolate chips
3 large eggs
1 cup sugar
1/2 teaspoon pure vanilla extract
1/2 cup all purpose flour
1/4 teaspoon baking powder
1/4 teaspoon kosher salt
2-3 tablespoons heavy cream
Nutella hazelnut spread

Grease and flour an 11-inch tart pan with removable sides.  Preheat the oven to 350 degrees F.

Melt the butter in a bowl set over simmering water.  Add 2 cups of the chocolate chips, remove from the heat and stir until the chocolate melts.  Set aside to cool completely.

In the bowl of an electric mixer fitted with the paddle attachment, beat the eggs, sugar and vanilla on medium-high speed until light and fluffy, about 3 minutes.  Stir in the cooled chocolate.
In a medium bowl, combine the flour, baking powder, salt and 1 cup of the chocolate chips.
Fold the flour mixture into the batter until just combined.
Pour into the pan and bake for 25-30 minutes, until center is puffed. (the top may crack)  The inside will still be very soft.
Cool to room temperature before removing the sides of the tart pan.
Melt the remaining 1/4 cup of chocolate chips with the heavy cream.  Add Nutella until desired consistency is reached and drizzle on the tart.

I am also sharing this recipe at Mandy's Recipe Box


Thursday, March 10, 2011

Peanut Butter Truffle

OK, so for my very first blog I thought I would share a recipe that I really love to make..and yes, it is a dieters nightmare...but oooooohhh so yummy!  


1/4 cup butter
1 1/2 cups peanut butter
3 cups confectioners sugar
2 teaspoons vanilla extract
Almond Bark (or 2 cups semisweet chocolate chips)
White morsels for drizzle 

1.  Combine butter, peanut butter, confectioners sugar & vanilla. Cream well.
2.  Melt the almond bark (or chocolate chips) over low heat. Remove from heat.
3.  Roll the peanut butter dough into 1 inch balls. (I use a small cookie scoop)
4.  Dip into melted chocolate and place on a cookie sheet covered in wax or parchment paper.  Refrigerate while melting white morsels.
5. Melt white morsels. Using a spoon drizzle over the truffles.

Refrigerate 15 minutes or overnight until ready to serve.

ENJOY!!