Saturday, April 30, 2011

Ding Dong Cake

First of all let me start by saying I am embarrassed about my picture...lol   I had company over for a dinner party and never got a picture of the entire cake... Oh well,  hopefully you can use your imagination.  ;-)  This is one of my favorites to make and eat.  It brings me back to being a kid eating one of my favorite snacks...the Ding Dong!

For the cake
2 cups of sugar
1 3/4 cups of all-purpose flour
3/4 cup of cocoa
1 1/2 teaspoons of baking powder
1 1/2 teaspoons of baking soda
1 teaspoon of salt
2 eggs
1 cup of milk
1/2 cup vegetable oil
2 teaspoons of vanilla extract
1 cup of boiling water


Preheat oven to 350 degrees.  Grease and flour two 9-inch round cake pans or one 10-inch round cake pan

In the bowl of a stand mixer fitted with the paddle attachment, stir together the sugar, flour, cocoa, baking powder, baking soda and salt.  
Add eggs, milk, oil and vanilla.  Beat on medium speed for about 2 minutes.  
Stir in boiling water.  Batter will be thin.
Pour into prepared pans.
Bake 30-35 minutes for the two 9-inch pans or 45-55 minutes for the 10-inch pan.  Cake is ready when a toothpick inserted in the middle comes out clean.
Cool completely.

Once the cakes have completely cooled, use a spoon to scoop out a thin layer in center of one cake to within 1-inch from the sides.  Discard the removed section or use for another recipe.
For the single 10-inch cake cut a 1-inch layer off the top and follow the above directions to scoop the center out.

Cream Filling
2 teaspoons of very hot water (not boiling)
1/4 teaspoon of salt
1 jar of marshmallow cream
1/2 cup of shortening
1/3 cup of confectioners sugar
1/2 teaspoon of vanilla

Dissolve the salt in the hot water.  Set aside until cooled.
With a mixer fitted with the whisk attachment, whip the cream, shortening, sugar and vanilla until fluffy.
Add the water/salt mixture when it's cooled and whip well.

Cream taken from Sugar Derby

Using a spatula, scoop the cream into the cake center and spread until evenly distributed.
Replace the removed cake top (or second cake if you made two 9-inch)
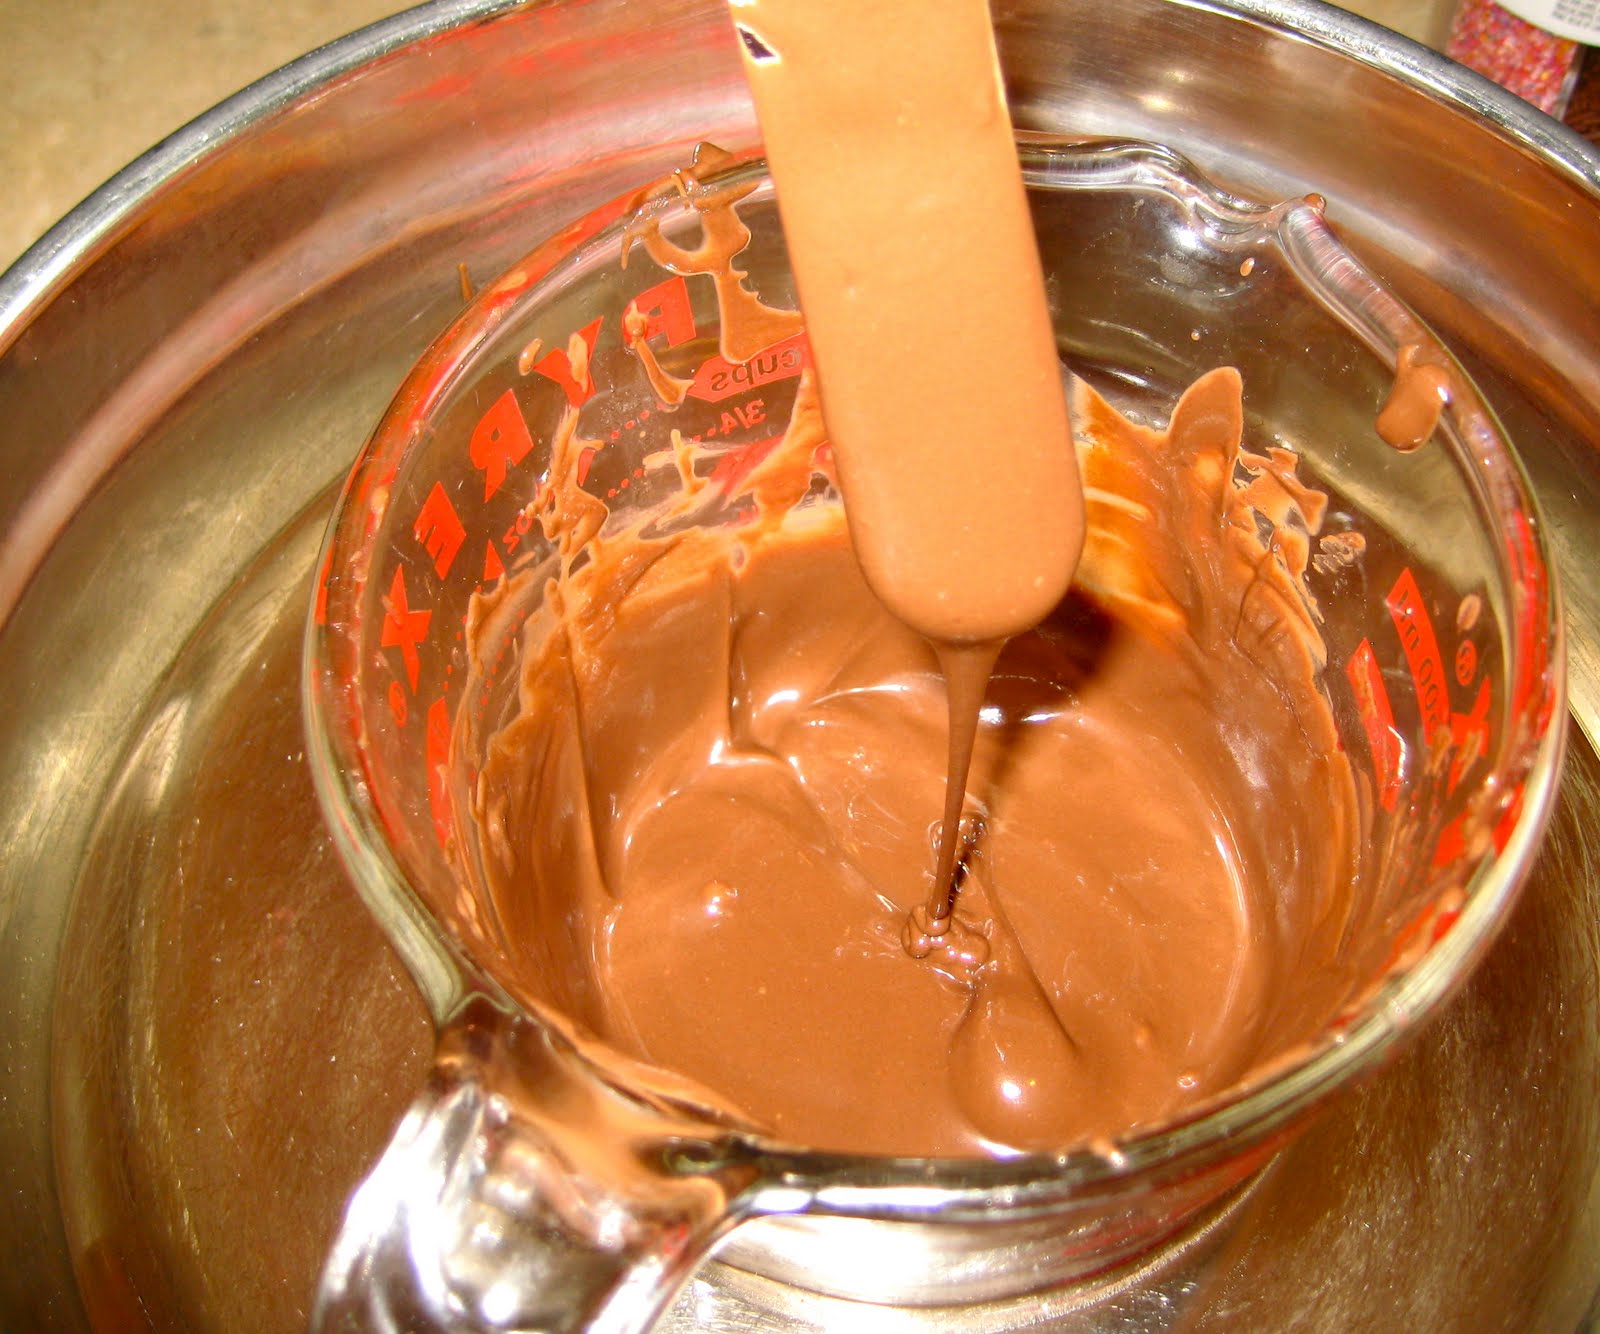
Ganache Topping 
1 cup of chocolate chips
1/4 cup of shortening
3 tablespoons of corn syrup 
2 1/4 tablespoons of water

Combine all ingredients in the top of a double broiler and stir until melted and smooth. 
Pour over cake and smooth down the sides.  
Refrigerate until chilled.

Store in the refrigerator.


Tuesday, April 19, 2011

Chocolate Chip Cookie Dough Pops!

I love cakepops.  So when I discovered a recipe for cookie dough egg-less truffles I had to try making them into pops.  You can be as creative as you want when it comes to decorating them!  
White almond bark with sprinkles

Cookie dough inside... Genius! 

Rounded cookie dough on wax paper

Chocolate should be a pouring consistency, not too thin.

Dip pops into chocolate until covered.

Decorate away!


Cookie Dough
1/2 cup of butter, softened
1/2 cup of brown sugar, packed
1/4 cup of granulated sugar
1 cup of all purpose flour
1/2 teaspoon of salt
1 tablespoon of vanilla extract
1 cup of chocolate chips
water

Candy
Almond bark (or candy coating)
Sprinkles or other toppings
lollypop sticks 

Beat the butter and sugars until fluffy.  About 3-5 minutes.
Stir in the flour, salt, vanilla and chocolate chips. 
Add enough water, 1 tablespoon at a time until cookie dough consistency is achieved.  You may not need to use water at all.  
Roll dough into balls (I use a small cookie scoop) and place on a cookie sheet lined with wax paper.
Place in refrigerator for about an hour, or until firm and cold.

When dough is chilled, melt almond bark or candy coating in a microwave safe bowl.  
If consistency is too thick, you can add shortening or vegetable oil 1 teaspoon at a time until desired consistency is reached.  I place my bowl of melted chocolate into another bowl of warm water to keep the chocolate soft.  Make sure you don't get water in the chocolate or it will seize up on you.
Only remove a few cookie pops at a time so they remain chilled.
Dip the end of a lollypop stick into the chocolate and then press into the bottom of a cookie dough ball until about halfway through.  
Dip the cookie pop into the chocolate and use a spatula to help cover it completely. Allow the excess to dip off.
Sprinkle your choice of toppings on immediately.  If you allow the chocolate to dry the sprinkles won't stick.  
Place upright in a styrofoam block, container of rice or sugar, or anything else you might have that will hold the pops upright until they dry.
Store in the refrigerator.


Cookie dough adapted from Willow Bird Baking


Friday, April 15, 2011

SnickerDoodle Blondies

For whatever reason I have never tried a snickerdoodle.  I know, where have I been all my life, but seriously I never had...until now.  I think the reason I waited so long to try them is because of the name.  I dislike the Snicker candy bar (nice reasoning huh?) so there is no way I would ever like a snickerdoodle..right?  WRONG!  These soft spongy cinnamon sugary cake like bars are fantastic!  

Snickerdoodles
2 2/3 cups of all purpose flour
2 teaspoons of baking powder
1 teaspoon of cinnamon
1/4 teaspoon of ground nutmeg
1 teaspoon of salt
2 cups of packed brown sugar
1 cup of butter at room temperature
2 eggs at room temperature
1 tablespoon of vanilla extract
Topping
2 tablespoons of granulated sugar
2 teaspoons of cinnamon
a pinch of nutmeg

Preheat oven to 350 degrees F.  Grease or line a 9x13 pan

Combine the flour, baking powder, cinnamon, nutmeg & salt.  Set aside.
In the bowl of a stand mixer, beat the brown sugar and butter until light and fluffy.  3-5 minutes.
Add in the eggs one at a time, then add the vanilla.  Beat until smooth.
With a wooden spoon, stir in the flour mixture until blended.
Using a spatula, spread in the pan.  Batter is thick.
Combine the sugar, cinnamon and nutmeg.  Sprinkle on top until completely covered.
Bake 28-32 minutes or until center springs back when gently pressed.
Cool before cutting.

Taken from Mandy's Recipe Box


Monday, April 11, 2011

Stylish Blogger Award

Wow..I'm new to blogging and I received this award!   Very cool indeed.  Mahalo Marelie from Cookie Droplets Etc.. for recommending me.
 As a recipient of the Sylish Blogger Award I am supposed to tell 7 things about myself and nominate 15 others for the award, so here goes......

1- I love to bake. Yeah probably not a huge surprise since I have this blog, but there you go anyway. ;-)
2- Family is the most important thing to me.  My husband and my kids are the reason I live..and bake!
3- My family moved to Maui, HI  2 1/2 years ago.  We sold 99% of everything we owned and set out on an adventure, one that held many unknowns since we had to find work and start rebuilding everything we had left behind on the mainland.  It has taken time, but we have now built our construction business into a thriving one and are enjoying our life here in paradise.
4- I have been an insulin dependent diabetic for 18 years.  Many people ask how on earth I can bake the things I do and not eat them.  I really don't eat much sweets, but I am allowed to indulge at times as long as my blood sugars are controlled.  ...and I prefer fresh made bread anyways!!
5- My dog and parrot are apart of our family.  We all go for walks and my parrot rides on my dogs back....pretty amusing sight.
6- I no longer take life so seriously.  I used to, but not anymore.  I have learned to enjoy my life, my family and whatever the day brings me.
7- I love people.  This past year I have been on a journey to look at the hearts of people instead of what I see on the outside.  It is so easy to make a quick judgment when we don't know someone and I am as guilty as the next person of doing this.  But I am striving to make that apart of my past and not my future.

I recommend the following for the Stylish Blogger Award based on how much I enjoy their blogs.

1- Mandy's Recipe Box
2- Cheat Day Cafe
3- This Chick Cooks
4- The Sisters Cafe
5- Smithalicious
6- Stephanie's kitchen
7- Envy My Cooking
8- SugarDerby
9- Wilde In The Kitchen
10- Joy The Baker
11- Your Cup Of Cake
12- Hungry Girl Porvida
13- Ellie's Favorite Recipes
14- Brown Eyed Baker
15- Back To The Cutting Board

Enjoy life, Love people, Keep baking

Star

Tuesday, April 5, 2011

Lemon & Raspberry Ice Box Pie

If a recipe has sweetened condensed milk in it....I'm in!  I have made this pie twice in the past couple of weeks and I am restraining myself from making another one right now.  Restraint...I can do it..I can..really I can. 

Creamy lemon filling with raspberry topping

Pie filling
3 egg yokes
1 14oz can sweetened condensed milk
1/2 cup of lemon juice 
1/2 teaspoon of lemon extract
yellow food coloring (optional)
1 8 or 9 inch pre-baked pie crust or a graham cracker crumb crust

Raspberry topping
10oz bag of frozen raspberries or berry of your choice, defrosted
1/4-1/2 cup of sugar
2-4 tablespoons of cornstarch 

Preheat oven to 325 degrees F. 

Beat egg yokes with a beater or fork.  Slowly beat in sweetened condensed milk, lemon juice & lemon extract.  Add enough yellow food coloring until desired color is achieved.  (filling will be a cream color without it)  Pour into prepared pie shell.

Bake 30-35 minutes or until set.  remove and cool for 1 hour.

While pie is cooling, place raspberries in a saucepan with the sugar and cornstarch.  Simmer over low heat until bubbly and thickened.  
Remove from heat and let cool for 30 minutes.

Pour over pie and chill in refrigerator for at least 3 hours.  

Optional: You can top with cool whip when serving.

Caramelitas

I am one of those people that will do anything for caramel.  Really..anything.  I have stooped to the level of sneaking caramel candies into the shopping cart so my husband can't see....why do I feel the need to sneak?.....I really don't know.  I just love caramel, so when I came across this dessert I knew it would be love.  It was.
Soft gooey caramel.....need I say more?

Caramel sauce
1 cup of granulated sugar
1/4 cup of water
3/4 cup of heavy cream
3 1/2 tablespoons of unsalted butter
1 teaspoon of kosher salt

In a heavy bottomed saucepan, combine the sugar and water over medium-low heat until the sugar dissolves.  Stir only once at the very beginning and then leave it alone.  Increase the heat and bring to a boil.  Again, no stirring.  If necessary, use a wet pastry brush to wash down any crystals on the sides of the pan.  Boil until the syrup is a deep amber color, about 5-6 minutes.
Remove the sugar from the heat and carefully whisk in the heavy cream.  The mixture will bubble and harden at first, but not to worry, it will smooth out.  Stir in the unsalted butter and salt.  
Transfer to a dish to cool.   Caramel is done! 
Note: Caramel will last in the fridge up to 2 weeks.  

Carmelitas 
2 cups of all-purpose flour
1 3/4 cups of quick cooking oats
1 1/4 cups of brown sugar
1 teaspoon of baking soda
1/4 teaspoon of salt
1 1/4 cups of unsalted butter, softened
1 cup of chocolate chips
3/4 cups of chopped pecans or walnuts
Caramel sauce (recipe above)
2 1/2 tablespoons flour

Preheat oven to 350 degrees F.  Grease or line a 9x13-inch pan with parchment.

Combine the flour, oats, brown sugar, baking soda, salt and softened butter in the bowl of a mixer fitted with a paddle attachment.  mix on low until crumbly.  Divide the batter.  2/3 portion and 1/3 portion.

Press the 2/3 portion into the prepared pan.  I use a spatula to get it evenly spread and pressed.  Bake for 10 minutes.  Cool slightly.  Sprinkle the chocolate chips and chopped pecans over the crust.  
Mix the caramel sauce with the 2 1/2 tablespoons of flour, and drizzle over the chocolate chips and nuts. Drop teaspoonfuls of remaining crumb mixture on top.
Return to the oven and bake for an additional 15-20  minutes or until the crust starts to brown.  Allow the pan to cool, and refrigerate until the caramel filling is set. 
Cut into bars and serve.

Recipe courtesy of Kelsey Nixon


Blondie Brownies

Blondies!!   Woohoo I love blondies!  
I have tried and tested a few recipes and this is the one our family has decided is "the one" for us.  I am an almond flavor lover so these have a hint of almond to give them a little boost of yum!
Just waiting to be devoured!
Chocolate chips and white morsels ready to melt in your mouth....

2 1/4 cups of all-purpose flour
2 1/2 teaspoons of baking powder
1/2 teaspoon of salt
1 1/4 cups of granulated sugar
1 1/4 cups of packed brown sugar
3/4 cup of unsalted butter, softened
1 tablespoon of vanilla extract
1/4 teaspoon of almond extract
3 eggs
1 cup of semi sweet chocolate chips
1 cup of white morsels or peanut butter chips

Preheat oven to 350 degrees F.  Grease a cookie sheet or jelly roll pan.

In a small bowl, combine the flour, baking powder and salt.  Set aside.
In the bowl of a stand mixer fitted with the paddle attachment, cream together the granulated sugar, brown sugar, butter, vanilla extract and almond extract until smooth. 
Beat in the eggs one at a time until combined.
Using a wooden spoon, stir in the flour mixture just until combined. 
Mix in chocolate and white morsel chips.
Spread evenly in prepared pan.  Dough will be thick so you need to use a spatula to spread.

Bake for 25-28 minutes.  If you like a darker, crispy exterior than cook a little longer.  I like a soft center with a light exterior so I so I cook mine for 25 minutes.  
Cool in the pan on a wire rack.  When completely cooled cut into squares and store in an airtight container.  

Tip.  Place a slice of bread in the airtight container with the blondies to keep them soft.  The brownies will draw the moisture from the bread.  Replace the bread when it dries out.